Mountain Biking
Tubeless vs Inner Tubes for Trail Riding: Pros & When
Compare tubeless tires and inner tubes for trail riding. Learn pros, cons, sealant amounts, when to use inserts, and top picks from Stan's, Maxxis, CushCore.
By Forest Bikes Team ·
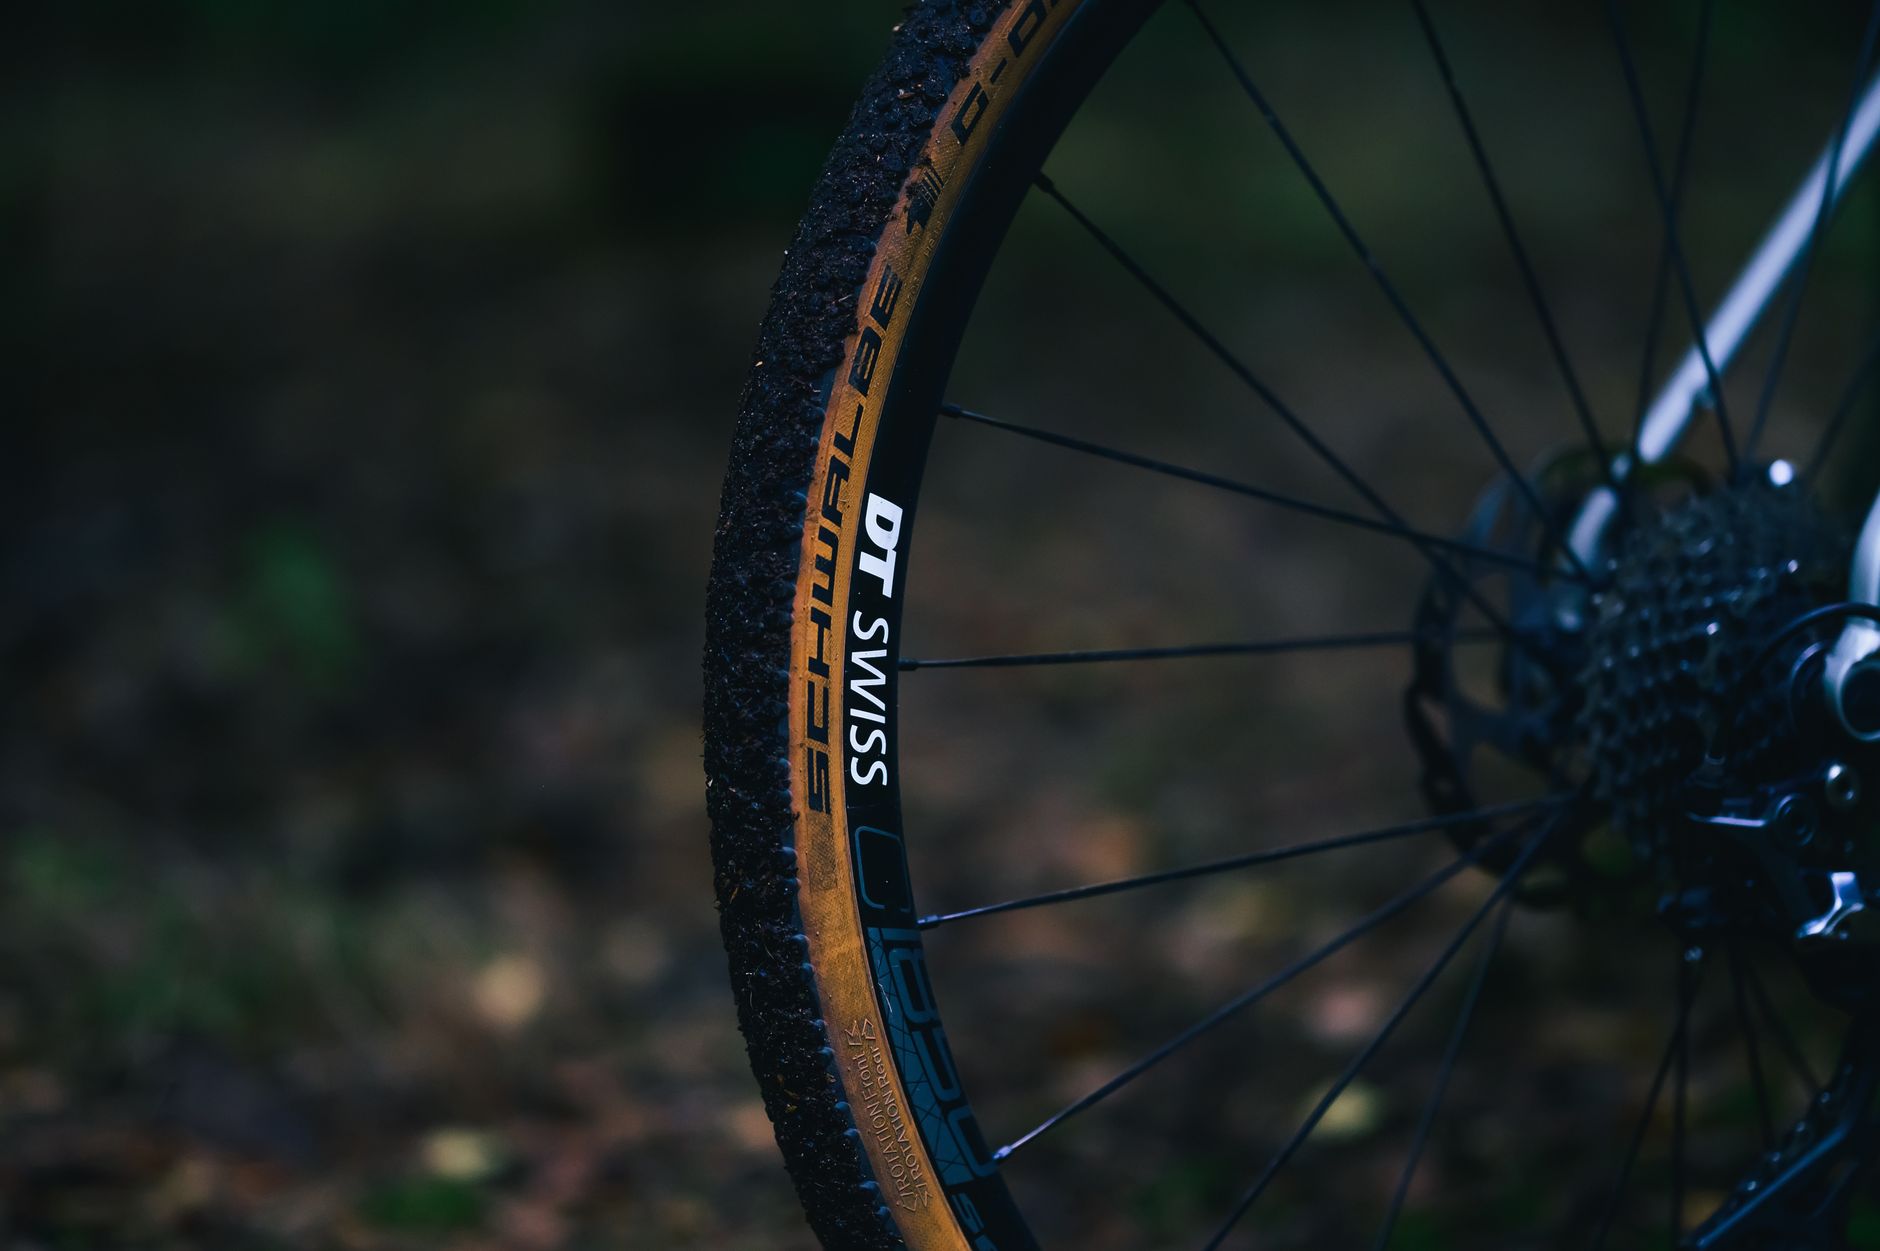
Choosing between tubeless tires and inner tubes is one of the biggest decisions you’ll make for trail performance and reliability. In the real world, what works best depends on your bike, terrain, riding style, and how much maintenance you’ll do. This guide breaks down the pros and cons of each system, when to use sealant or inserts, and exactly how to set up and maintain your ride for the trails.
You'll get actionable recommendations — sealant volumes, product picks from Stan's, Orange Seal, Maxxis and CushCore, and clear rules-of-thumb for when a tube still makes sense. Read on to set up your wheels the smart way.
How Tubeless and Inner Tube Systems Work
Tubeless systems use a tubeless-ready tire seated against a sealed rim bed and a liquid sealant inside the tire to seal small punctures. Tubeless-ready rims and tires have stronger beads and bead profiles to keep them seated at low pressure. Popular sealants include Stan's NoTubes, Orange Seal, and Muc-Off No Puncture Hassle.
Inner tubes are the traditional rubber tube inside the tire. Tubes are simple to install, easy to patch, and require no sealant or special rims — but they are more vulnerable to snakebites (rim cuts) and repeated punctures on rough trail terrain. Tube choices range from standard butyl tubes to lightweight latex tubes and heavy-duty thornproof tubes.
Tubeless Advantages for Trail Riding
Better traction at lower pressures: Tubeless lets you run 5–15% lower pressures than tubes without snakebites, improving grip and compliance on rough or steep trails. For example, many riders drop to ~18–22 psi front and 20–25 psi rear on 29x2.4 trail tires depending on weight and rim width.
Fewer flats: Sealant plugs small punctures (nail holes, small cuts) instantly. For trail use we recommend Stan's NoTubes or Orange Seal; typical sealant volumes are 30–60 ml per 29x2.2–2.4 tire and 60–90 ml for larger plus or e-MTB tires. Tubeless also reduces the incidence of pinch flats and often saves time on the trail.
Tubeless Downsides and Real-World Limitations
Maintenance and dry-out: Sealant dries and needs topping up—typically every 2–6 months depending on formula and climate. In cold climates some sealants gel or freeze. Carrying a syringe and 30–60 ml spare sealant for long rides is good practice if you're far from home.
Installation can be fiddly: You need tubeless-ready rims/tires, tacky rim tape (Stan's Race Tape or high-quality cloth tape), tubeless valves (Stan's or DT Swiss), and often a booster like a Bontrager Flash Charger or a floor pump with a compressor. Burping (loss of bead seal under hard cornering) can happen on narrow rims or if the tire isn't a perfect match; inserts like CushCore can mitigate this.
Inner Tubes: When They Still Make Sense
Instant simplicity: Tubes are fast to install and fix on the trail — patch or swap the spare tube and ride. For bikepackers, long remote rides, or rental fleets where easy repairs matter, tubes remain a compelling option. Use thick-walled butyl or reinforced thornproof tubes for rough conditions or commuting.
Latex vs Butyl: Latex tubes are lighter and more supple, giving slightly better rolling feel, but they leak air faster and are less puncture-resistant than butyl. For trail riding we typically recommend standard butyl tubes for durability; carry a spare tube sized to your tire (e.g., 29x2.3–2.5 tube) and a plug kit like Dynaplug as a backup.
Tire Inserts: Protection, Feel, and Trade-offs
What inserts do: Products like CushCore and Vittoria Air-Liner sit between rim and tire to protect the rim, prevent pinch flats, reduce burping, and allow you to run even lower pressures. CushCore has a wide product range for rim widths and discipline-specific compounds; Vittoria Air-Liner is known for being lighter and easier to fit on some rims.
Trade-offs: Inserts add 300–700 g per wheel depending on model and rim width, change suspension feel (often a more planted mid-stroke), and raise tire temps slightly. For aggressive enduro, e-MTB, or riders who routinely hit rocks and want minimal burping, the protection and confidence often justify the weight. For XC-focused trail riders, inserts may be overkill.
Practical Setup and Maintenance Checklist
Converting to tubeless: Check that both rim and tire are tubeless-ready. Clean the rim bed, install high-quality rim tape to cover spoke holes, fit a compatible tubeless valve, seat the tire bead, then add sealant. Inflate rapidly with a booster or compressor to seat beads. Recommended sealant volumes: 30–45 ml for XC/trail 29x2.0–2.4; 60–90 ml for plus or e-MTB tires.
Maintenance: Rotate wheels occasionally to distribute sealant, inspect sidewalls and bead seating monthly if ridden often, and top up sealant every 2–6 months. Carry a minimal tubeless repair kit on rides: a mini pump or CO2, a plug tool (Dynaplug), and 30–60 ml of spare sealant or a disposable syringe to top up if needed. For tubes, carry a spare tube, pump, and patches.
Bottom line: For most trail riders, tubeless delivers the best mix of traction, fewer flats, and ride quality — especially when paired with quality sealant like Stan's or Orange Seal. Inner tubes still make sense for simplicity, remote riding, or as an emergency backup. Inserts like CushCore or Vittoria Air-Liner are a great add for aggressive riding or heavy e-MTB usage, but they add weight and cost.
Try tubeless if you want better traction and fewer roadside repairs; keep a tube and plug kit for emergencies. Browse our selection at Forest Bikes for tubeless kits, sealants, inserts, and expert advice to set up your trail wheels the right way.
Frequently Asked Questions
Can I run tubeless on any rim or tire?
No. For a reliable tubeless setup you should use tubeless-ready rims and tubeless-ready tires. These feature bead profiles designed to lock and seal. While "tubeless compatible" tires can sometimes be made to work on non-tubeless rims, this is riskier and can result in burping or failures. Always check manufacturer compatibility and use proper rim tape and valves.
How much sealant should I put in my tires?
Use about 30–45 ml per 29x2.0–2.4 trail tire, 45–60 ml for wider trail/plus sizes up to 2.6, and 60–90 ml or more for fat or e-MTB tires. These are starting points—heavier riders and aggressive terrain benefit from larger volumes. If you run an insert, you may need slightly more sealant to coat internal surfaces.
How often should I replace or top up sealant?
Inspect sealant every 2–3 months and top up or replace every 2–6 months depending on formula and climate. Hot, dry conditions make sealant dry faster. Orange Seal claims 6–12 months durability in some formulas, but we recommend checking every few months for consistent protection.
Can I put a tube inside a tubeless tire?
Yes. You can fit an inner tube inside a tubeless tire in a pinch or as a long-term choice. Be sure to remove excess sealant (it can eat at latex tubes and make maintenance messy) or use a butyl tube. For emergency repairs on the trail this is a reliable option.
Are inserts worth the weight?
It depends on your riding. For aggressive enduro, downhill, e-MTB, or rocky trails where rim strikes, burps and sidewall cuts are common, an insert (CushCore or Vittoria Air-Liner) adds protection and confidence. For XC or light trail riders focused on weight and efficiency, the penalty often outweighs the benefit.
What do I do if my tubeless tire burps or loses air mid-ride?
First, ride to a safe spot and inspect the bead and tire. If the bead has unseated, try re-seating by pressing the tire back onto the rim and inflating. If there's a big cut, use a plug (Dynaplug) or install a tube. For repeated burps, check tire/rim compatibility, ensure proper bead seating, or consider an insert.
Can I use latex tubes with tubeless tires?
You can, but it's unusual. Latex tubes are lighter and give better ride feel, but they lose air faster and are more fragile. If you put a tube into a tubeless tire, a butyl tube is generally the more practical and durable choice for trail riding.
Topics: tubeless, inner tubes, trail riding, sealant, inserts