How to Set Trail Bike Sag and Rebound — Complete Guide
Learn step-by-step how to set sag and rebound on your trail bike. Practical PSI ranges, product picks (Fox, RockShox), and tuning tips for better control and comfort.
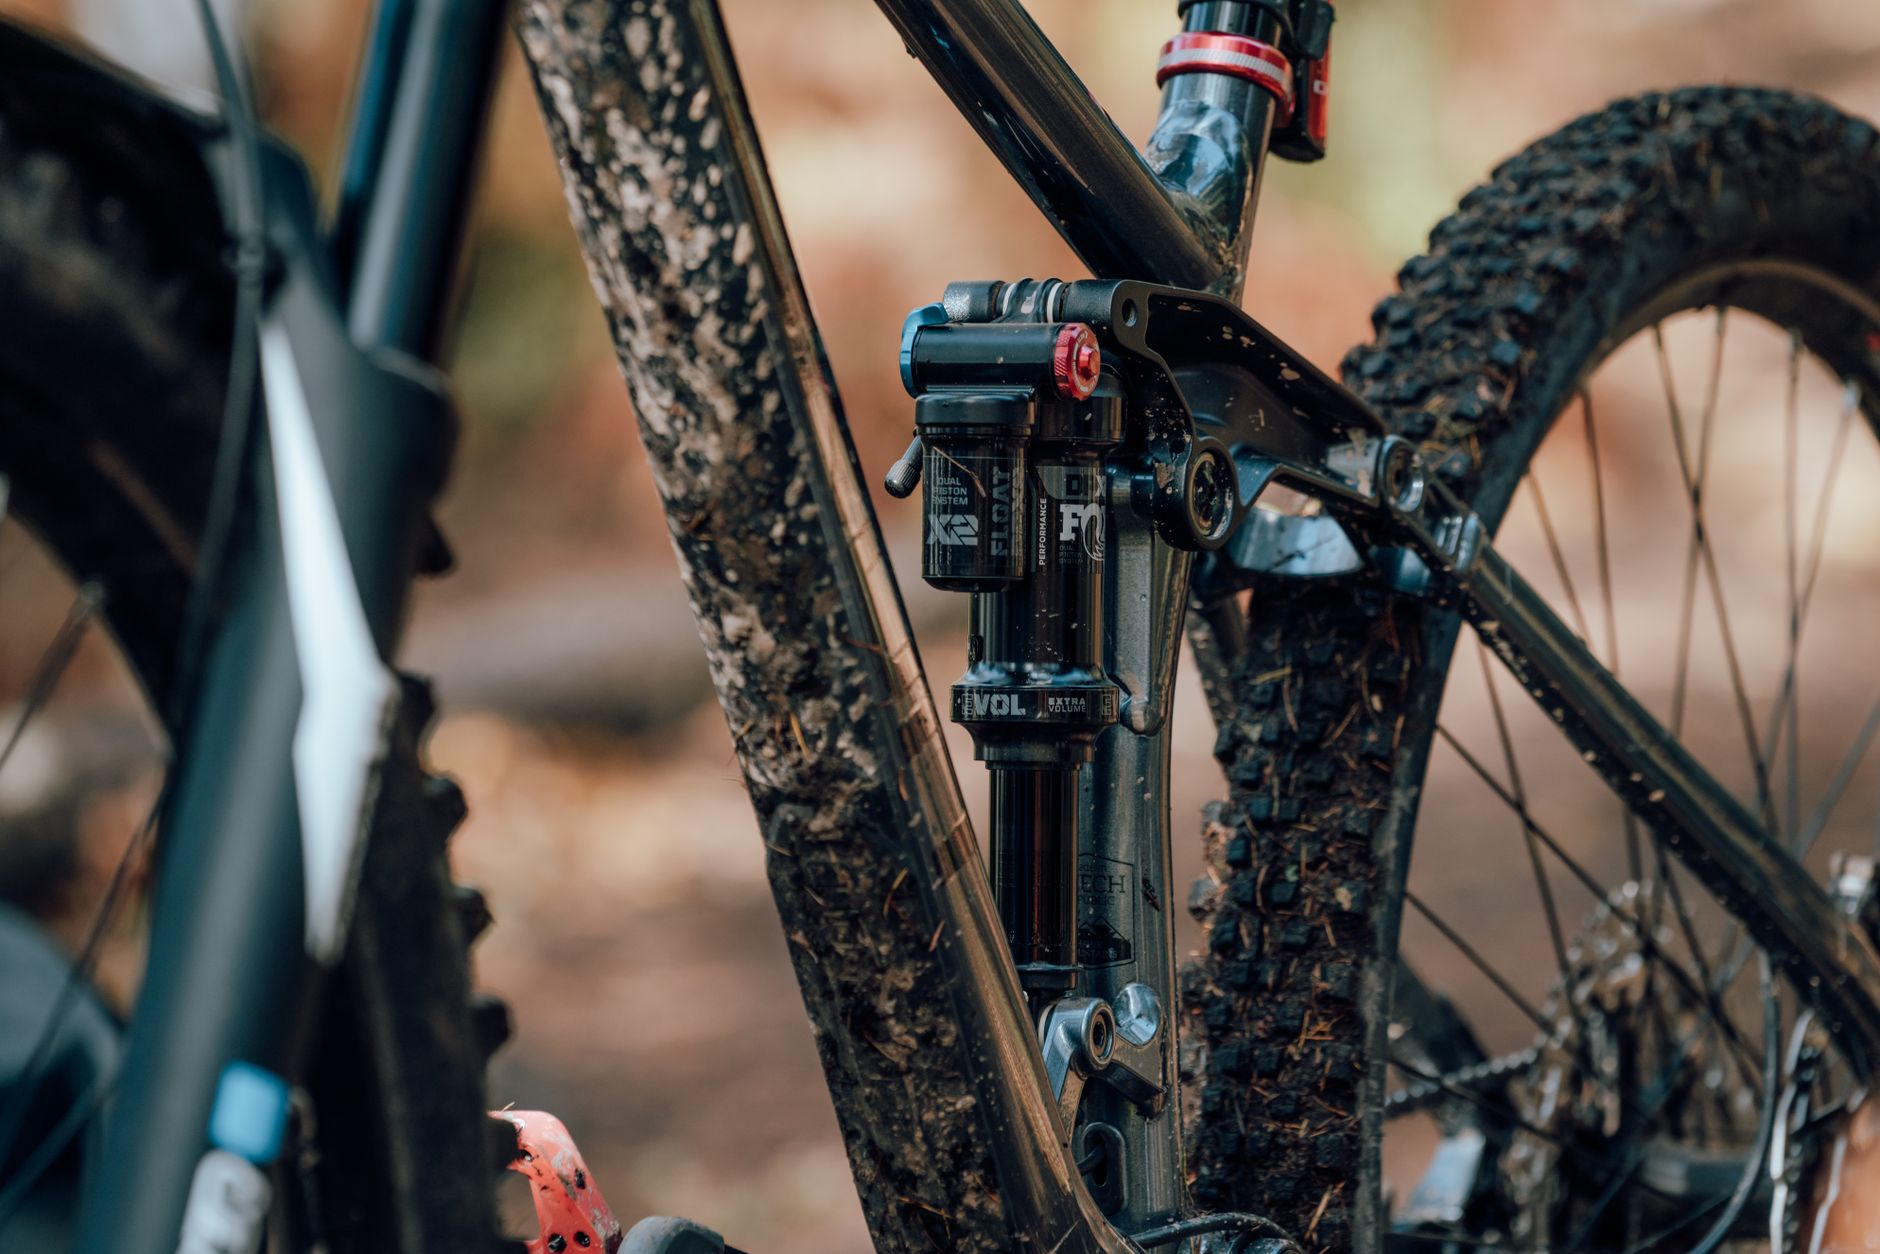
Photo by Jan Kopřiva on Pexels
Suspension sag and rebound are the two most important settings for getting the best traction, comfort, and control from a trail bike. Done right, they transform how the bike tracks, climbs and descends. Done wrong, they make a capable bike feel vague or harsh.
In this guide you’ll learn exactly how to measure and set sag on forks and rear shocks, how to dial in rebound for different trail styles and rider weights, and which tools and products make the job easiest. We include brand examples (Fox, RockShox), PSI ranges, and practical step-by-step checks so you can get dialled quickly.
Why sag and rebound matter for trail bikes
Sag is the amount your suspension compresses under your weight when stationary. It determines ride height, geometry and how much usable travel is available for smoothing bumps. For most trail bikes, sag affects cornering grip and traction more than any single other setting.
Rebound controls how fast the suspension returns to its extended position after compressing. Too fast and the bike feels skittery and loses traction; too slow and the suspension packs down over repeated hits and feels sluggish. Balancing sag and rebound gives consistent bite and predictable handling on technical trails.
Tools and product recommendations
Gear up with a few basic tools: a reliable floor pump for tyres, a quality shock pump (digital or analogue), a sag meter or zip-tie for checking travel, and a metric Allen key for any clamp adjustments. Recommended shock pumps include the Lezyne Digital Shock Drive (accurate digital readout) or the Topeak TwinHead Shock Pump for robust analogue performance.
Examples of common trail components you'll be setting: Fox 34/36 forks, RockShox Pike, rear shocks like the Fox Float DPS and RockShox Super Deluxe. When buying, check manufacturer sticker ranges (PSI or volume spacers) and recommended settings in user manuals — they’re a solid starting point.
How to measure and set sag (step-by-step)
Step 1 — Prep: Put on your full riding kit (helmet, pack and water), set tyre pressures for the trail, and stand the bike upright. For the fork, remove any travel tokens so you measure true travel if you're unsure.
Step 2 — Measure: For forks: slide a zip-tie or sag ring onto the stanchion and sit on the bike in your normal riding position (pedals level, hands on grips). Dismount carefully and measure the travel used. For rear shocks use the same method at the shock shaft or eye-to-eye travel marking. Target sag ranges: fork 18–25% travel, rear 25–30% travel for trail bikes as a starting point.
Step 3 — Adjust pressure: Use a shock pump to add or remove air. For an air shock or fork, go up or down in ~5–10 PSI steps until you hit target sag. For coil springs, swap springs (or adjust preload) to reach the correct sag. Make small changes and re-measure.
Tuning rebound: a practical workflow
Start from baseline: Turn the rebound knob to the manufacturer’s middle or the recommended baseline (many Fox and RockShox models recommend ~8–12 clicks out from fully closed). This gives a balanced starting point for most riders.
On-trail testing: Ride a familiar loop with both poppy single hits and longer square-edge compressions. If the bike kicks back aggressively and feels unsettled, slow the rebound (turn knob towards closed). If the bike feels slow to recover, packs down over successive bumps, or the rear feels hooked under braking, speed the rebound (turn knob towards open) in 2–3 click increments.
Quick Tip: Wear Full Kit
Always measure sag while wearing your normal riding kit (helmet, pack, tools). Small changes in weight shift sag percentages noticeably.
Recommended Tool: Shock Pump
We recommend the Lezyne Digital Shock Drive for accuracy or the Topeak TwinHead Shock Pump for reliability. Both fit most Schrader-boot valves used on modern shocks and forks.
Warning: Don’t Overinflate
Overinflating to make the bike feel 'faster' reduces traction and increases risk of bottom-out on big hits. Use sag targets, not seat-of-the-pants feel, as your guide.
Specific starting PSI and click examples by weight
While every shock and fork is different, here are practical starting points based on rider weight for common Fox and RockShox air springs. These are starting pressures — use measured sag to finalize.
- Rider 60–75 kg (132–165 lb): fork 60–75 PSI, shock 120–140 PSI
- Rider 75–90 kg (165–198 lb): fork 75–95 PSI, shock 140–170 PSI
- Rider 90–110+ kg (198–242+ lb): fork 95–120 PSI, shock 170–200+ PSI
Rebound click starting points: Fox / RockShox common baseline is 10–12 clicks out from fully closed. Lighter riders will often run slightly faster rebound (more open) than heavier riders.
Fine-tuning for trail style and terrain
If you ride fast, steep trails with big hits, bias towards slightly firmer sag (lower percentage) and a bit slower rebound to keep the bike from topping out. For slower, technical, rooty singletrack, bias towards slightly more sag (better small-bump sensitivity) and a quicker rebound for pop and traction.
Adjust compression damping (if available) after sag and rebound are set. Use low-speed compression to control chassis roll on climbs and high-speed compression to soak big hits. Example: on a Fox Float X2, start with the compression lever in the middle position and adjust one click at a time while noting the difference on the trail.
Common mistakes and maintenance tips
Common mistakes include measuring sag without riding kit (gives too little sag), over-inflating to feel 'sharper' (kills traction), or changing rebound in huge jumps (makes feedback confusing). Always use small increments and re-test on the trail.
Maintenance: check fork stanchions and shock shafts for wear, service the air can and seals per manufacturer intervals (every 50–100 hours for many trail forks), and keep a calibrated shock pump in good condition. Regular maintenance keeps settings consistent and prevents slow leaks that ruin sag accuracy.
Getting sag and rebound dialled takes a little time but rewards you with better traction, more confidence, and faster lap times. Start with the manufacturer baselines, use the step-by-step sag and rebound workflow above, and make small changes followed by on-trail testing. If you’re shopping for tools or replacement parts, check our picks for shock pumps, Fox and RockShox service kits, and tuning accessories.
Ready to tune? Shop our suspension tools and forks/shocks at Forest Bikes, or contact our team for personalised setup advice.
Frequently Asked Questions
Products You May Like
Related Topics

Forest Bikes Team
The Forest Bikes team are passionate cyclists dedicated to helping riders find the perfect parts for every adventure.
Checklist: Sag Setup
Follow this checklist before your ride:
- Wear full riding kit
- Set tyre pressures
- Slide zip-tie/sag ring onto stanchion
- Sit in riding position and measure
- Adjust PSI or spring preload
- Re-measure and fine-tune
Info: Manufacturer Baselines
Manufacturer manuals for Fox and RockShox include PSI charts and baseline click settings. Use them as starting points — then refine by feel on trail.