Using Your Dropper Post Like a Pro: Height & Fit Tips
Master your dropper post: when to lower and raise, ideal saddle heights for pedaling and descending, remote placement, and quick fit fixes to ride faster and safer.
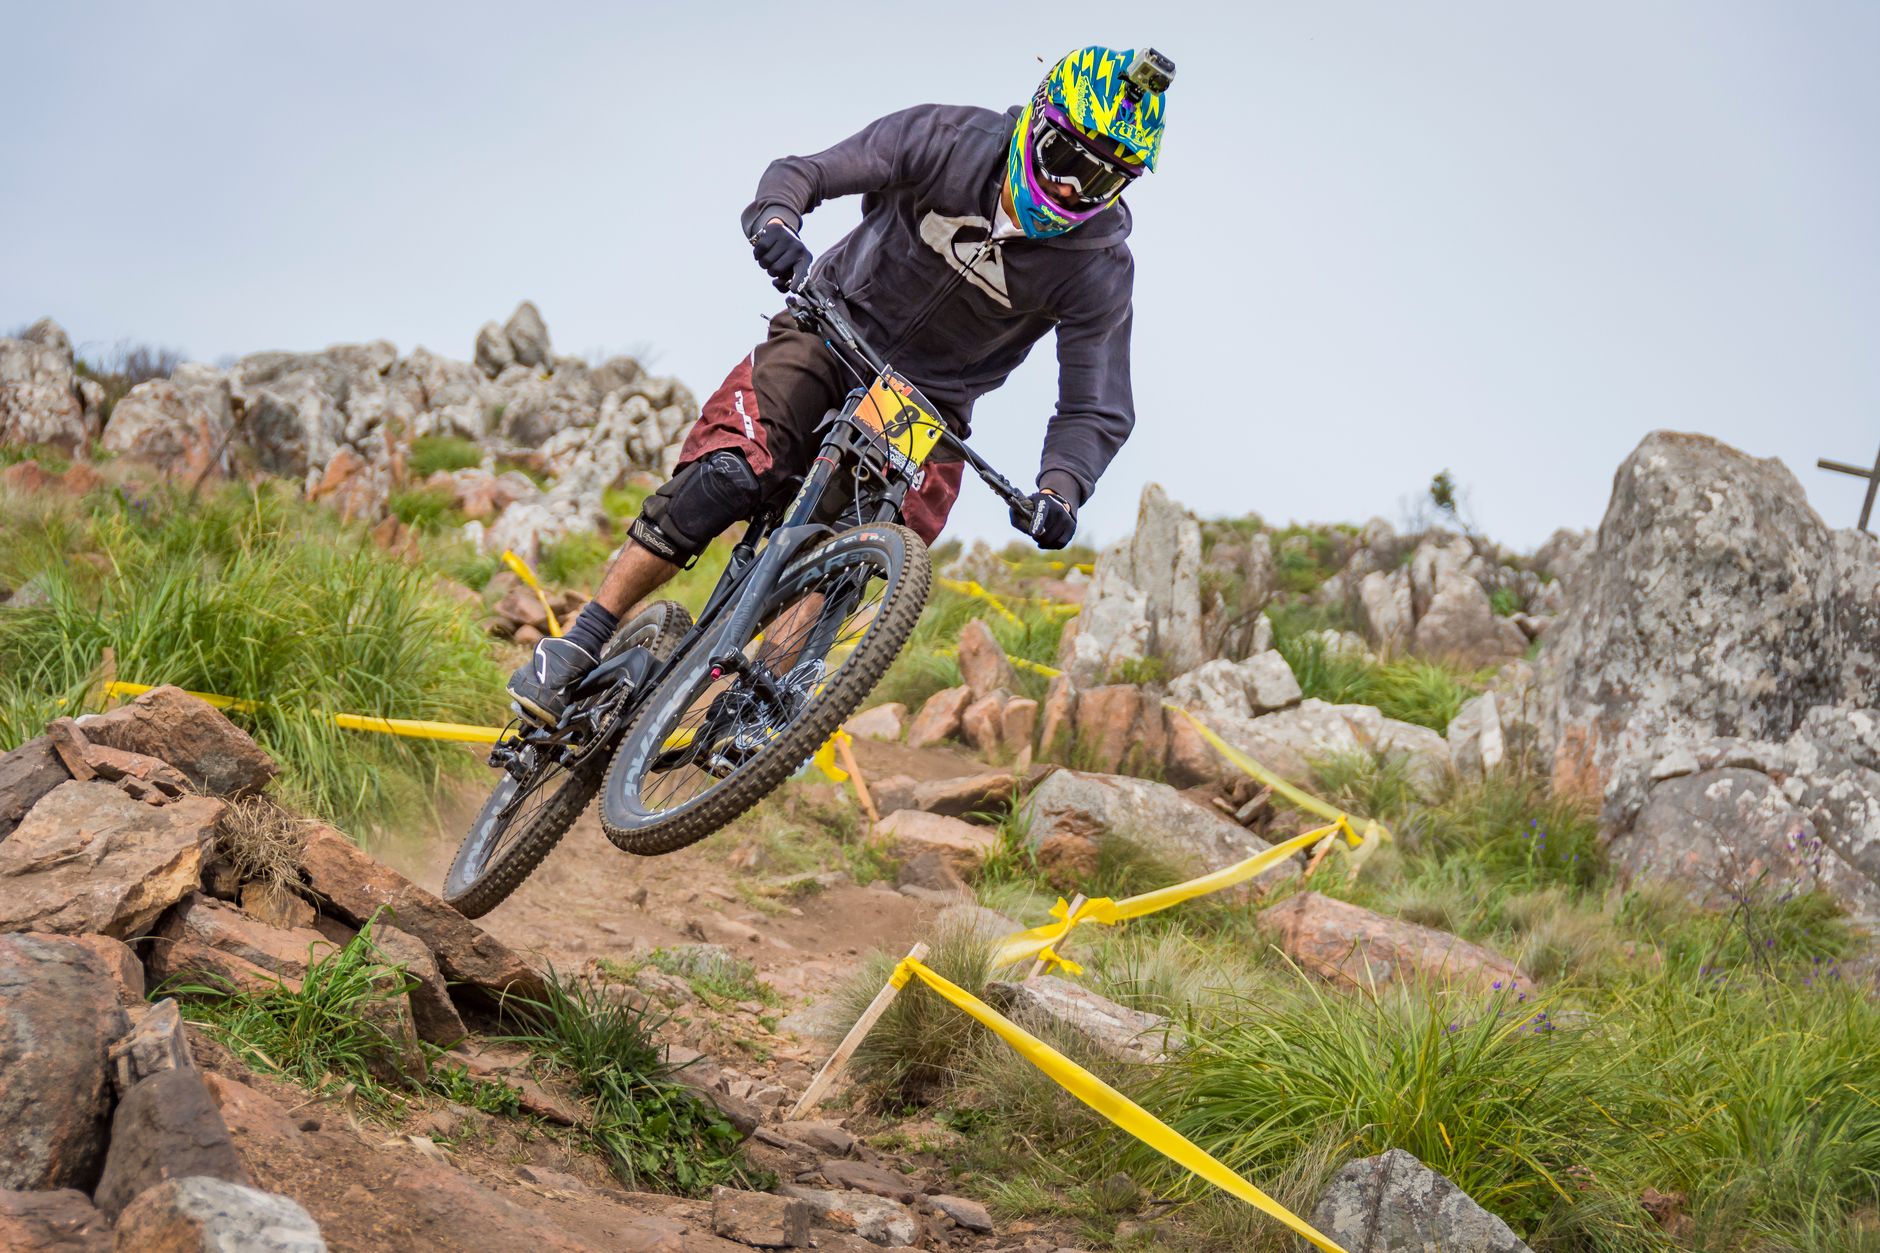
Photo by Javier Piva Flos on Pexels
Dropper posts transformed modern trail riding by letting you change saddle height on the fly. But many riders underuse them or set them wrong, sacrificing control and pedaling efficiency.
In this guide you'll learn exactly when to lower and raise your dropper, how saddle height and travel interact, remote placement tips, and quick fit fixes that make your dropper feel like a seamless extension of your bike.
Why every trail rider should master their dropper post
Using a dropper post properly increases confidence and control on steep, technical terrain while keeping you efficient on climbs. Lowering the saddle drops your centre of gravity, lets you move freely over the bike, and avoids the saddle catching on hips during big compressions.
Modern models like the RockShox Reverb AXS (wireless), OneUp Dropper, Fox Transfer, and PNW Rainier are reliable and come in travel options from 100mm to 200mm. Choose travel based on frame size and riding: 100–125mm for XC/trail, 150mm+ for aggressive trail/enduro. We'll cover how travel affects saddle height choices below.
When to lower and when to raise: practical cues
Lower your saddle when: approaching technical descents, steep loose trails, jump lines, rock gardens, tight switchbacks, or when you need to weight the bike and move behind the saddle. The rule of thumb: if you need to shift your center of gravity back or need unimpeded body movement, drop it.
Raise your saddle when: you're climbing sustained grades, sprinting, riding flat-out on smooth singletrack, or when you need efficient power transfer. Raise early before a climb to avoid inefficient knee angles. For short punchy climbs you can stay low briefly but expect reduced power output.
Saddle height, knee angle, and dropper travel
A common conflict is balancing optimal pedaling height with enough dropper travel for descents. For pedaling efficiency, target a knee angle of ~25–35° at the bottom of the pedal stroke when seated. Use a goniometer app or trusted fit chart to find your seat height.
If your dropper doesn't offer enough travel to get the saddle out of the way on steep descents, options include switching to a longer-travel post (e.g., 150–200mm), using a saddle with a slimmer profile (WTB Volt, Fizik Vento), or lowering your saddle baseline by 10–15mm while retaining a nearly ideal knee angle.
Quick Tip: Pre-drop Habits
Lower your dropper before the tricky section begins — anticipating gives you time to move your body and find a stable position.
Product Pick: OneUp V2 Dropper
The OneUp V2 is known for smooth action, reliable stacking, and 125–180mm travel options. Great balance of weight, serviceability, and affordability for trail and enduro riders.
Saddle fore-aft, tilt, and quick fit fixes
Small saddle fore-aft adjustments (fore/aft) dramatically affect comfort and pedaling. If you slide forward on climbs, move the saddle back 5mm; if you feel over the bars, move it forward. Use the knee-over-pedal-spindle (KOPS) check as a starting point, then refine by feel.
Saddle tilt should be roughly level. Nose-down can reduce pressure but may encourage sliding forward and excessive reach; nose-up can pinch soft tissue. A quick fix for saddle pain: level the saddle, reduce nose height by 1–2°, and try a different saddle width/profile tailored to your sit bones (Selle Italia, Brooks Cambium for comfort on long rides).
Remote lever placement and actuation best practices
Remote placement is often overlooked but critical. Position the lever where your thumb naturally rests while holding the grip — usually 10–20mm inside the grip edge and ~5–10mm below the clamp. Brands to consider: OneUp V2 lever, RaceFace Aeffect, RockShox Matchmaker-compatible remotes. Test placement on a short ride and tweak.
For actuation, light, short travel levers reduce fumbling. If your dropper requires a firm pull, check cable routing, return spring tension, or consider a cartridge service. Wireless posts like Reverb AXS remove cables but require battery management and occasional re-calibration.
Maintenance, troubleshooting, and common fit fixes
Regular maintenance prevents sticky or noisy posts. Cable-actuated droppers: inspect and replace inner cables/housings yearly or sooner if you ride hard or often. Hydraulic droppers (Fox Transfer, RockShox Reverb) require periodic bleeds and lowers/service intervals—RockShox recommends a lower leg service at 125–200 hours for Reverb variants.
Common issues and fixes: sticky/downshift lag—clean stanchion and lube with dedicated post grease; sagging under load—check air pressure or internal seals and consider a service; excessive play—tighten saddle clamp to manufacturer torque (typically 5–8 Nm) and check for worn clamp hardware. If travel is insufficient on descent, either lower your baseline saddle height, upgrade to a longer-travel post, or choose shorter cranks to increase clearance.
Using your dropper post like a pro is about anticipation, consistent saddle setup, and simple maintenance. Set your baseline saddle height for efficient pedaling, pick the right travel for your riding, place the remote where your thumb finds it naturally, and keep the post clean and serviced.
Ready to upgrade or service your dropper? Browse our selection of post models, remotes, and maintenance kits at Forest Bikes — or contact our fit team for one-on-one advice.
Frequently Asked Questions
Products You May Like
Related Topics

Forest Bikes Team
The Forest Bikes team are passionate cyclists dedicated to helping riders find the perfect parts for every adventure.
Warning: Minimum Insertion
Always respect the seatpost's minimum insertion mark. Running too much post exposed weakens the seat tube and risks failure — especially with long-travel droppers.
Pre-ride Checklist
Quick checks to ensure your dropper works all ride long:
- Cycle the post fully up and down to check smoothness
- Confirm remote lever position and actuation
- Check for play at the saddle clamp
- Verify minimum insertion and seat collar torque
- For hydrauic posts: check for leaks and battery (if wireless)